


What is it?
Pi-Hole is a DNS sinkhole which protects your devices from loading unwanted contents without having to install any software in your devices.
Pi-Hole is an open-source software which helps ensure you are the sole person in control of your privacy
How it works?
Pi-hole functions as an internal, private DNS server for your network. For many home users, this service is already running on your router, but your router doesn’t know where advertisements are — but Pi-hole does. Pi-hole will intercept any queries for known ad-serving domains and deny them access, so ads won’t be downloaded.
This means websites will load a lot faster, but without advertisements. Pi-Hole also caches these queries, so responsiveness to commonly visited websites is improved. The main advantage with Pi-Hole is
- It can run on almost any hardware
- Lightweight; requires just 2GB disk space & 512MB Ram
- Blocks Ads using the block list which is updated frequently
- Blocks unwanted sites and malware
- Blocks Telemetry Data
- Saves Your Internet bandwidth
How to install?
Primarily Pi-Hole was designed for RaspberryPi. Soon it was extended to almost every Linux distribution. It can be deployed on any cloud service provider like Digitalocean, Vultr, etc.
| Distribution | Architecture |
| Raspberry Pi OS | ARM |
| Ubuntu | ARM / x86_64 |
| Debian | ARM / x86_64 / i386 |
| Fedora | ARM / x86_64 |
| CentOS | x86_64 |
I am using a Digitalocean Droplet to demonstrate how to install it since I don't have any free hardware left to spare at home
Prerequisites
- 2GB Disk Space (4GB preferred)
- 512MB RAM
- 1 Static IP
Installation
Running the below command will get you started with the installation
curl -sSL https://install.pi-hole.net | bash
The command will download the install script and perform some checks before installation.
Step 1
Just press OK

Step 2
Just press OK Again

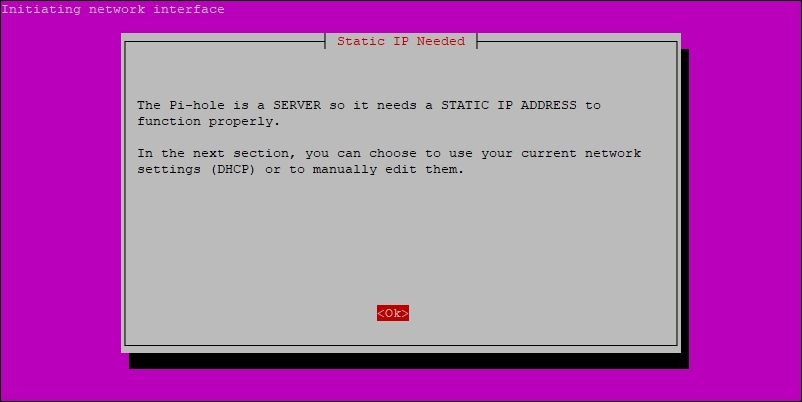
Step 3
In this step, it says that Pi-Hole is a server and it requires a STATIC IP address to work properly
Step 4
if you have multiple Ethernet ports and wanted to use a port other than default then you have to select your port. but for most people, it selects the default port
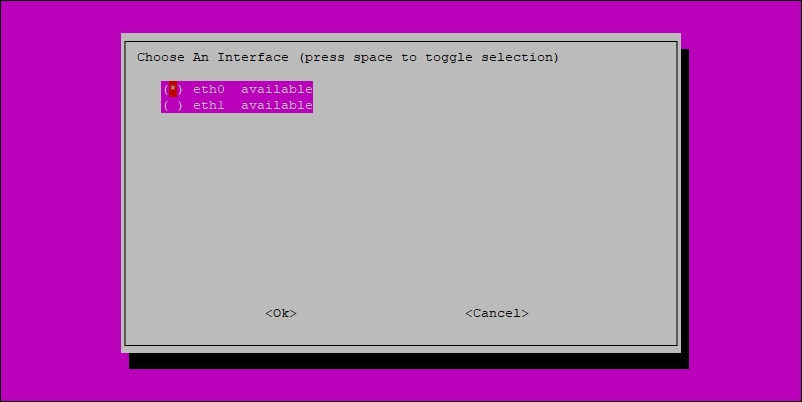
since I am running on Digitalocean its shows 2 usable ports. and I am going to stick with the default port which is
eth0as its directly connected to the internet and can be accessed from anywhere
Step 4
Here's where you select/enter your Upstream DNS provider.
Upstream DNS means pi-hole forwards requests to the configured provider to fetch the IP-Address if the request itself not been blocked by Pi-Hole

I selected Cloudflare as the provider because its faster & secure
Step 5
By default Pi-Hole has a built-in list of domains that should be blocked at all times. I prefer to just stick with the defaults.
Just press OK

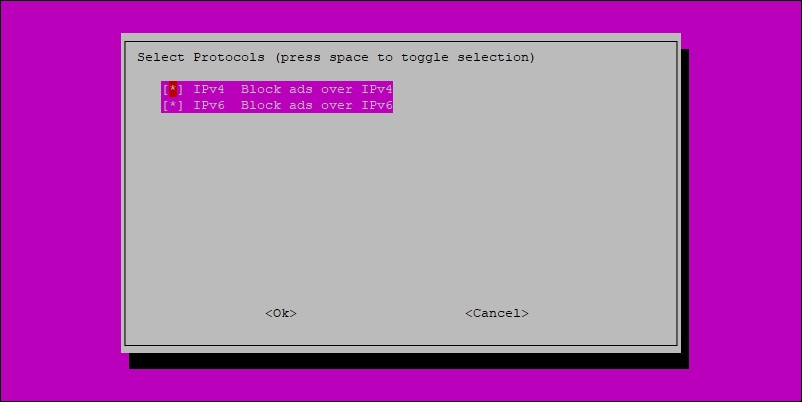
Step 6
In this step, you can configure which protocol pi-hole can block ads. just press ok it's better to have the defaults.
Step 7
It shows the IP Address & Gateway of the connected network. make sure to note down the IP address

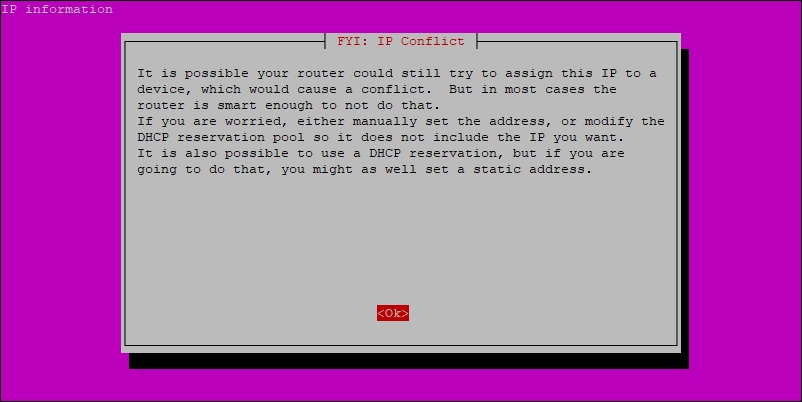
Step 8
Just Press ok but make sure to assign a static IP in the router level if you are installing it in your local network. that why the same IP will not be assigned to any other devices.
Step 9
Asks if you need an admin interface running on a web server. It's better to have. As it makes it easy to configure Pi-Hole.

Step 10
By default Pi-Hole will provide with Lighttpd which is great. if you have any other web server running then you can choose no
as I don't have any. I am selecting Yes

Step 11
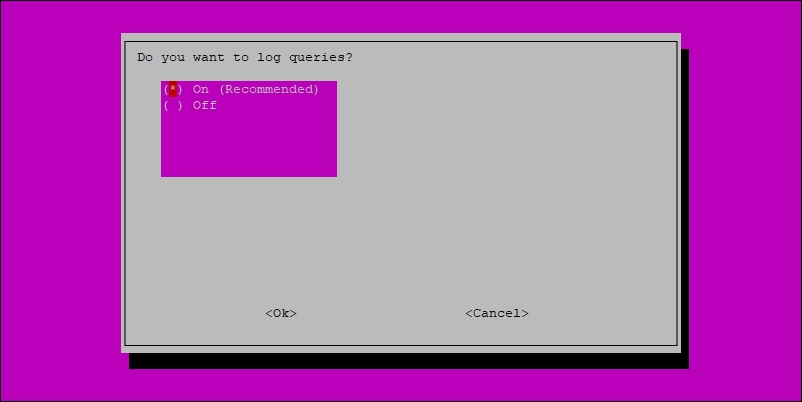
Select yes if you want to see which device quires which website. basically, logs every request made by a device.
I prefer to select yes because it provides a list and I can quickly check and block any wanted
Step 12 -- Final Step
This is to customize how the logs should be saved. just press ok and want for a few minutes to get this installed

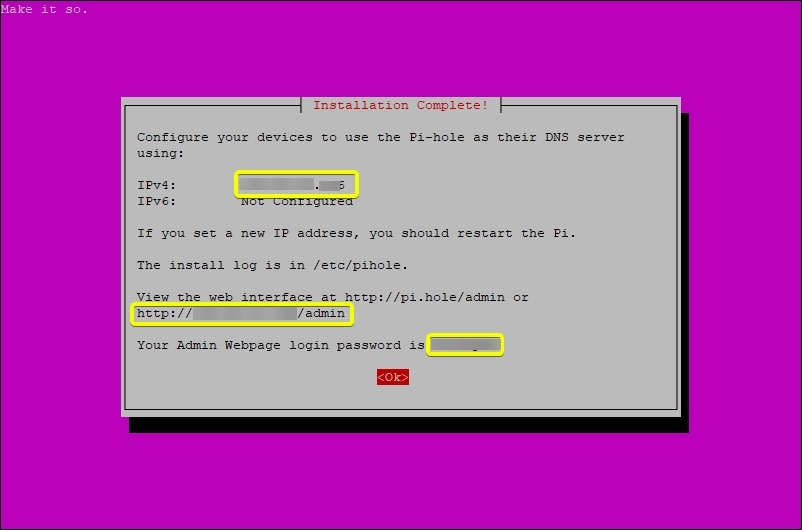
Finished
This is the final screen which shows some important information. such as
- IP Address
- Admin Password
- Admin Page URL
Make sure write them down
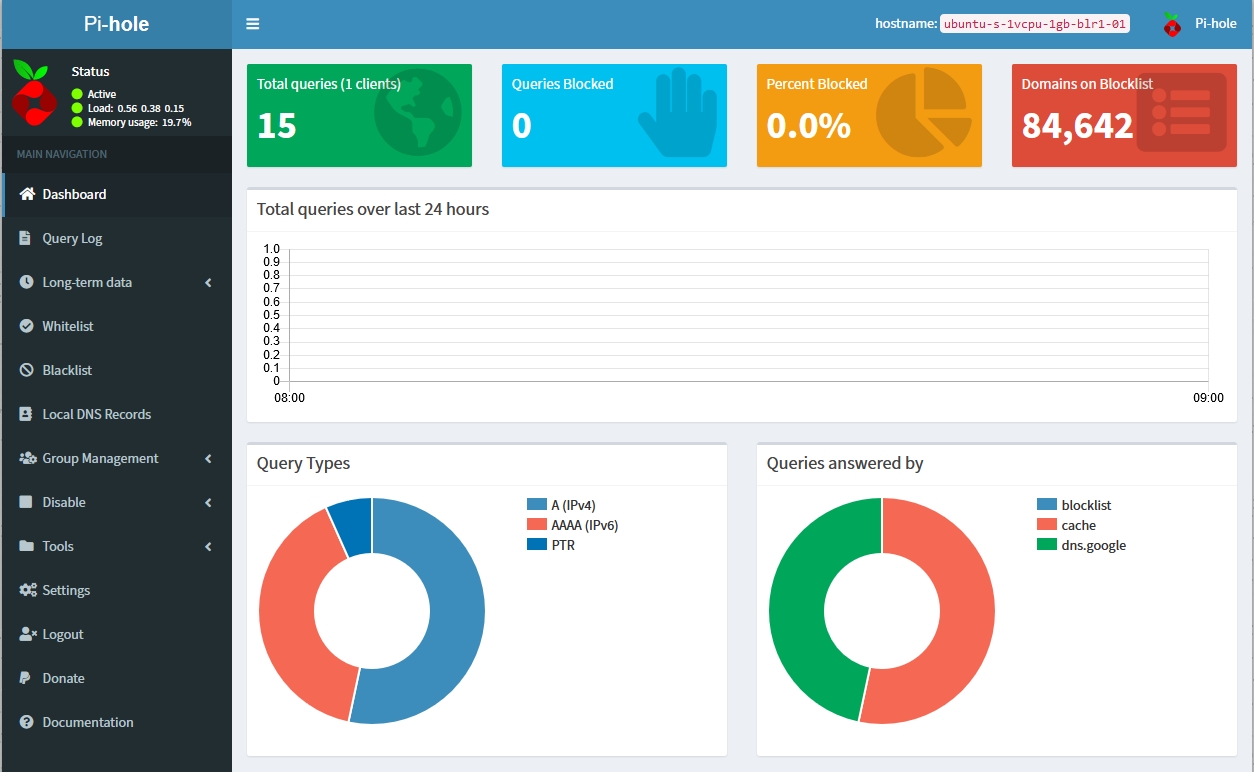
Once you are logged into the admin panel you will see something like below
You can find more information about setting up Pi-hole on the GitHub repository.
If you need support with using Pi-hole or want to chat with the Pi-hole community, you can visit their forum here.
Honest Feedback
In my family, I am the only person who can actually differentiate between genuine content/advertisement but other members of my family including my parents can't able to understand which is an advertisement. and in mobile everything is cluttered with adds every app that you installed has advertisement which is irrelevant & inappropriate.
That's when I decided to use Pi-Hole 2 years ago. and got to say it really made a big difference. it did the best to block all irrelevant & inappropriate advertisement in the whole local network. and it saved me almost 20% of my bandwidth usage.
I urge people to give it a try and see the actual difference.
if you need help in setting it up. you can contact me via Twitter @varunsridharan2 i will do my best.